
When a measure has been sent to a client, they will receive an email with a link to complete it.
The client can click the link for a measure to complete it online.

After they’ve answered all of the questions, they can click the Submit button to send their completed copy to the clinic.
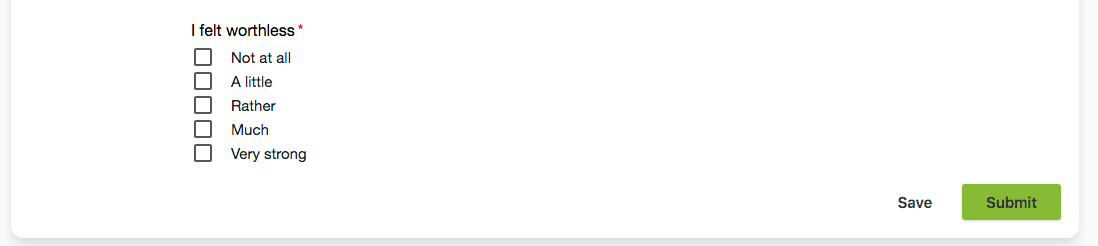
Please note: a measure cannot be submitted unless all of the questions have been answered completely. If a client tries to submit a measure with questions that have not been answered, they will be prompted to complete the questions they’ve skipped before they can submit it.
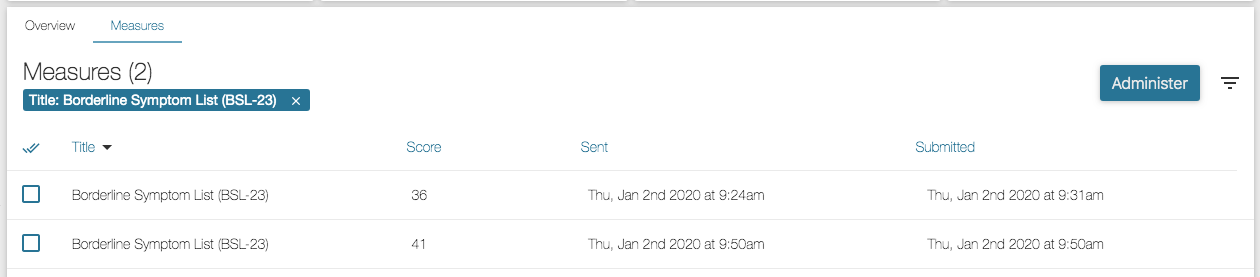
Once a client has fully filled out and submitted the measure, you can review the completed version in their Client Profile by going to Client Profile > Measures. Here you will see an Overview tab and a Measures tab. In the Measures section, you will see all of the measures that have been sent to this client, as well as when they were sent, when they were submitted, and the score recorded for that measure.
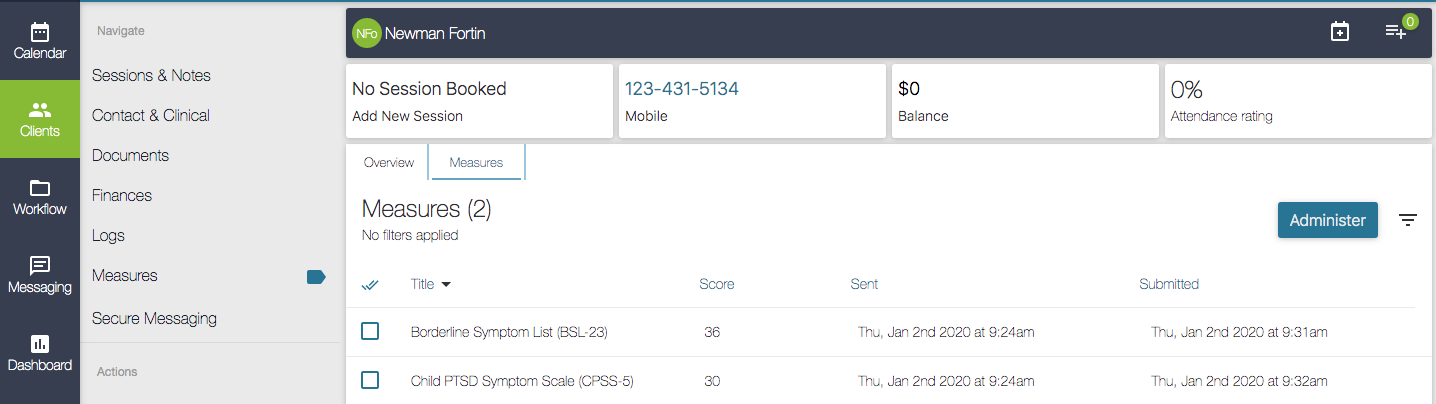
You can click the checkbox next to any measure in this list and click the View button to open it.

This view will show you a copy of the measure with all of the client’s responses to the questions. At the very bottom of the measure you will see the total score for that measure.

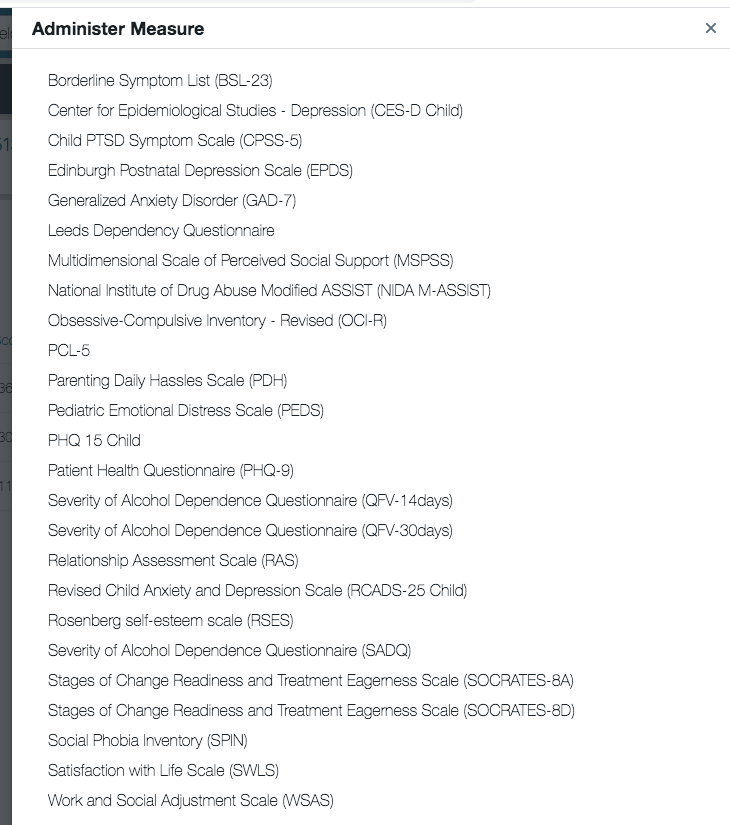
The Administer button allows you to choose a measure from the list and complete the measure on the client’s behalf.

This is useful if you prefer to administer your measures in session with the client by simply asking them the questions and having them tell you the answer aloud. Simply click the Administer button and you will see a list of measures to choose from.
The measure will be displayed and you can complete it based on the client’s answers. When all of the questions have been answered, click the Submit button. This will save a completed copy of the measure to the client’s profile for progress tracking the same way it would if you had sent the measure online to the client and had them complete it themselves.
From within the Measures tab, you can also use a filter to narrow the view of a client’s completed measures down to show only one type at a time. This filter is helpful if you’ve used a number of different measures with the client because it will allow you to see just the submissions for one particular measure at one time if needed.
The Overview tab allows you to track the client’s scores on each Measure over time. For instance, if you send a Generalized Anxiety Disorder (GAD-7) measure to a client once a month, over time you’ll be able to compare how their answers have changed to the questions in that measure. Perhaps you’ll see increased or decreased scores, which will give you an indication of how that client is progressing throughout their treatment.

At the top of the page, you’ll see a graph with lines that track the client’s progress over time. Each measure you’ve sent the client is tracked with a unique colour so you can easily compare any measures as needed. For example, the PHQ-9 may appear as green and the GAD-7 as yellow.
At the bottom of this screen, you will see the Legend, Compare, and Frequent Measures sections.
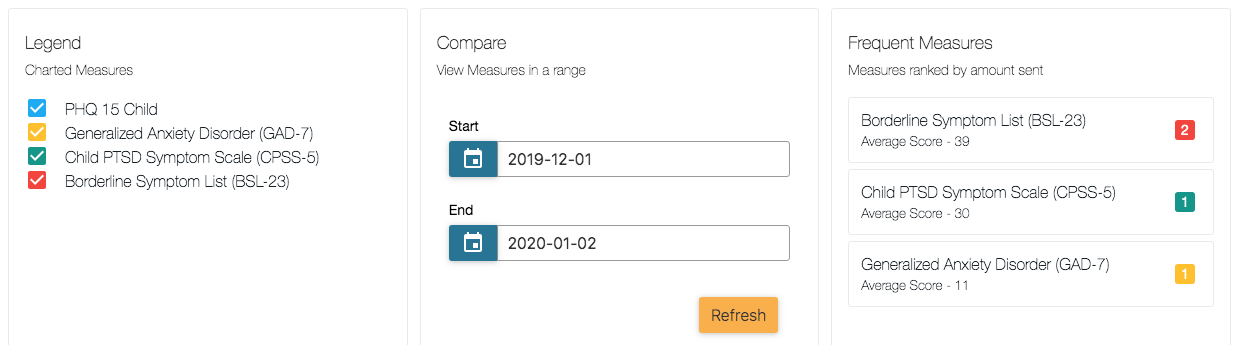
The Legend section directly corresponds to the Overview Graph. You can click the checkbox next to each measure listed here to choose whether or not you’d like to see it displayed in the graph. This section can be used to easily compare the responses to various measures over time for the client.
Compare allows you to select the date range for the data that will be displayed in the Overview Graph. If you wanted to compare the measures completed for a full calendar year, you would simply set the date range fields to the dates of your choosing and click the Refresh button to update the graph. By default the date ranges are pre-filtered for a months time frame.
Finally, the Frequent Measures section shows you a list of the most frequently sent Measures for this client. It lists and ranks the measures by most often sent to least and displays the average score for each type of measure.
Much like Intake and Consent Forms, any measures that have been sent to the client will also be tracked and listed in the Documents section of the client’s profile. Here you can see all of the Measures that have been sent to the client and if they’ve been completed. You can click on the three-dot icon to the far right of the measure, and click the View option to see the completed copy of the measure.
