
- Owl Practice FAQ
- Getting Started
- Getting Started Guide
Step 3 - Adding and Managing Clients
Owl keeps all of your clients organized in a central system, known as Clients on the navigation bar. Here is how to manage that list:To Add a Client:
- Click on the Add Client icon from anywhere in Owl.
- Fill in all the relevant details. The client name and therapist are the only mandatory fields, but filling in all of the fields will help you manage your clients more effectively.
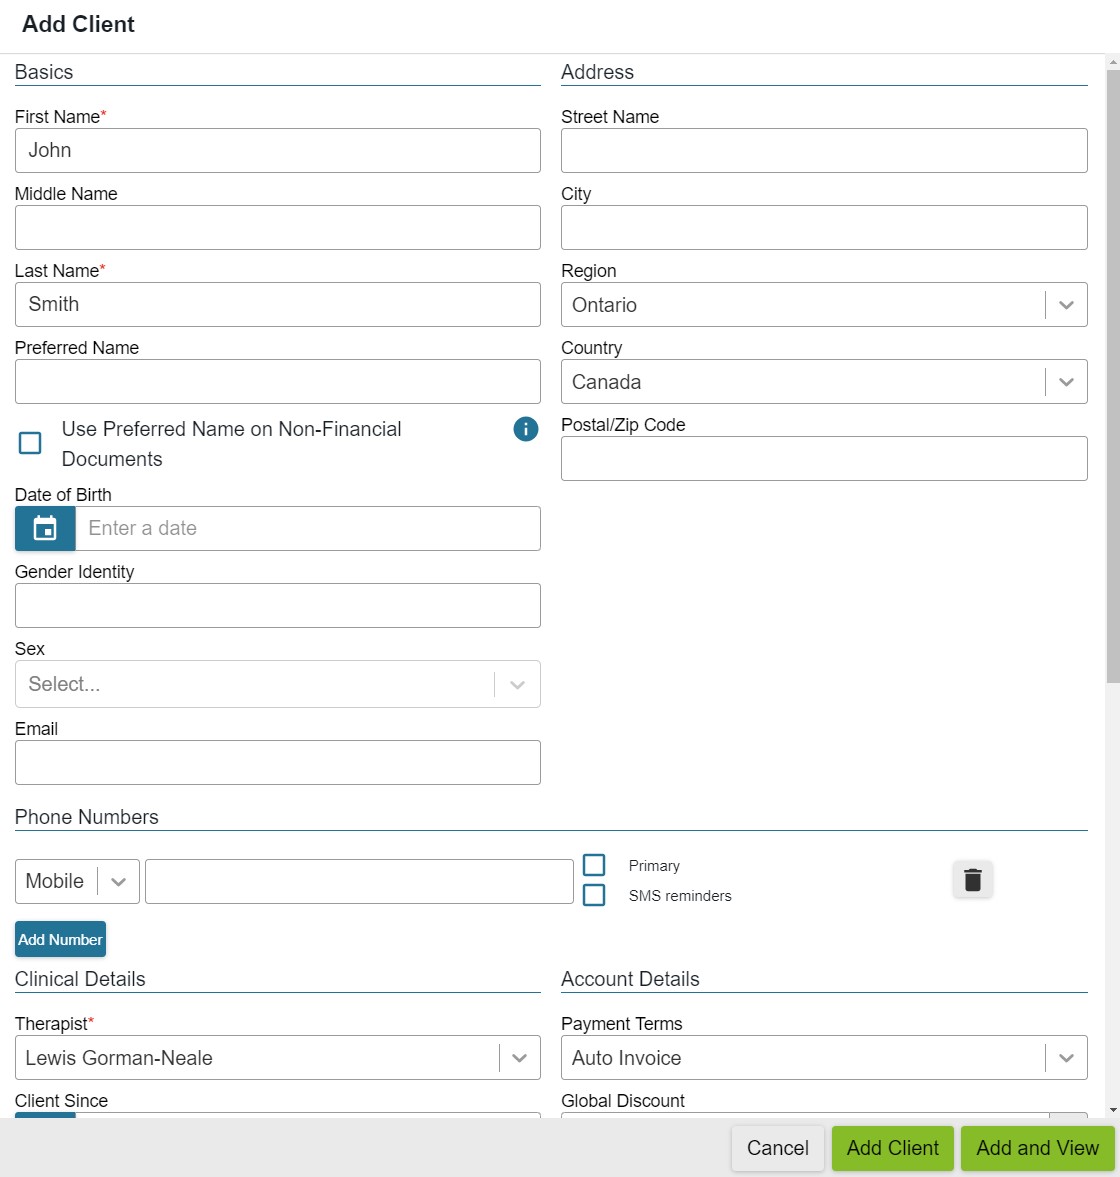
- You can edit and update this information later from the Client's account.
- When you're done, click the green Add Client button to save!
- You can click Add and View instead, to jump right into their Client account.

There is much more to client management in Owl Practice, so please read through our comprehensive Client FAQs or contact us.
Next step: add a Service!