
Due to the varied nature of supervision in the mental health industry, different practitioners require different forms of supervision documentation. Owl Practice’s Supervision feature is flexible enough to be used for any supervisory relationship.
This guide reviews how Solo practices will use Owl’s Supervisor feature. If you are a Group user, please visit this article.
There are two common supervisory styles:
- Billing Documentation Supervision:
- The Practitioner requires the Supervisor’s information on client financial sessions and documents. The Supervisor does not review notes or need access to client data.
- Notes Review Supervision:
- The Practitioner requires the Supervisor’s information on client financial sessions and documents. The Practitioner also requires the Supervisor to review and sign session notes. The Supervisor’s signature may be included on financial documents.
Owl’s Supervision feature can be used for both styles. Supervisors can be configured for name only use, or they can be granted access to the Owl account to login at their convenience for review and sign off of session notes.
The following options are available to configure a Supervisor for a solo practice. A Supervisor may:
- Be assigned to and view their assigned client profiles
- Display their name and credentials on invoices and receipts
- Display their signature on invoices and receipts
- Review and sign session notes using direct access to your Owl account
- Use the Workflow tool to easily view and sign notes that are ready for their review
There are five steps to successfully using Owl’s Supervisor feature:
- Setting up a Supervisor Profile
- Granting User Access to the account (if needed)
- Adding a Supervisor to the Therapist Profile
- Assigning Supervisors to Clients
- Scheduling the Supervisor for Sessions
Keep in mind, the Supervisor needs to be assigned to the client account first before you can associate them to your sessions!
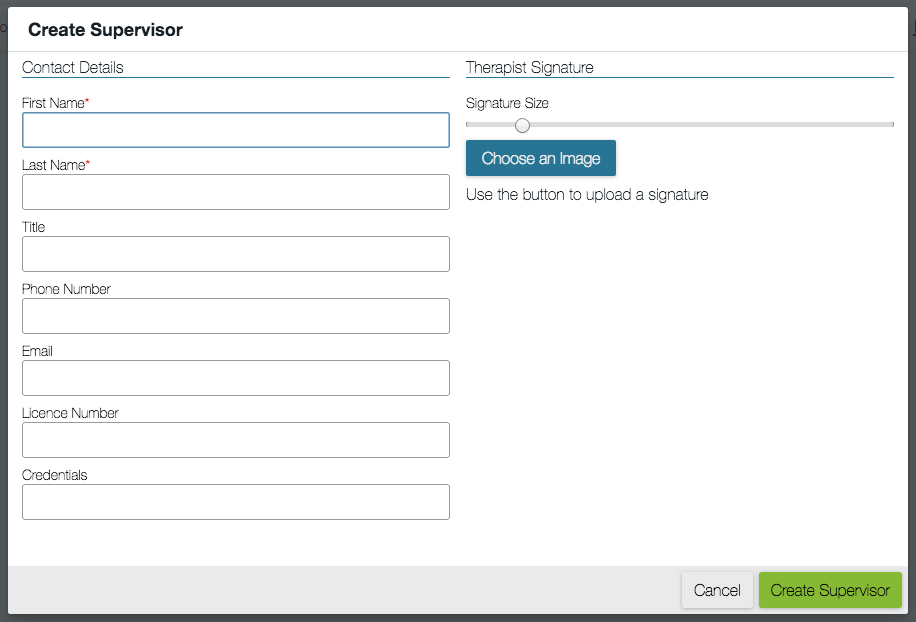
Step 1: Setting up a Supervisor Profile
- Go to Settings > Therapists
- Click the + icon at the top of the page
- Input the Supervisor’s information in the fields provided and click the Create Supervisor button
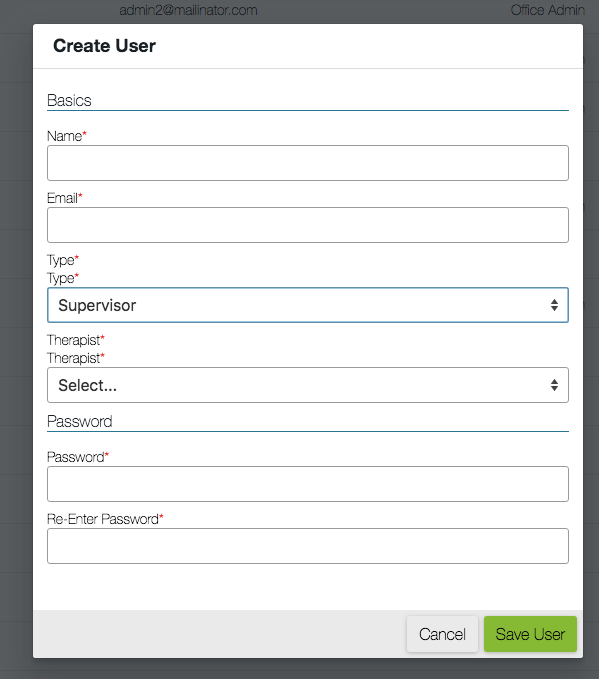
Step 2: Grant User Access
- Go to Settings > User Access
- Click the + icon at the top of the page
- Input the Supervisor’s name and the email address they will be using to access the account
- Choose the user type Supervisor from the drop down menu and when you do, you’ll see another drop down menu called Therapist appear. Choose the Supervisor you just created from this list
- Assign an initial password and click the Save User button to grant access
Note - if your Supervisor does not need access to your Owl account, you can skip this step
Step 3: Adding the Supervisor to a Therapist Profile
Supervisors must always first be set up on the Therapist Profile. To do this:
- Head to Settings > Therapists.
- Find the therapist for whom you are setting up the Supervisor
- Click the checkbox next to their name, and click Edit in the green edit bar that appears at the top of the list.
- The option to set the Primary Supervisor is directly below the Therapist Grade, on the left side of the window.
- Use the drop down menu to select the Primary Supervisor for this therapist.
- Note - Each supervisor must be marked as Active to appear in the supervisor drop down.
- Once you have entered the Primary Supervisor, you can now set up your Additional Supervisor. Click the blue Add Supervisor button that is directly below the Primary Supervisor dropdown menu.
- Here, you will have the same options for therapist profiles to select as when you set the Primary Supervisor.
- If you enter the incorrect name, you can use the trashcan icon next to their name to clear the field. You can also use this trashcan icon once the supervisee no longer needs to be supervised.
- If this therapist needs to have their Supervisors sign their session notes, be sure to click the Require Supervisor Signature checkbox. Once the supervisee signs their notes, they will appear in the Supervisor’s workflow to review and sign.
- If the supervisor must be included on financial documents (invoices, receipts, and account summaries), click the Show Supervisor checkbox under the Invoices and Receipts section of the Therapist Profile.
- Make sure you click the green Update Therapist button to save your work and apply your changes.
That’s it! You can now move on to setting up the client account with the correct supervisor.
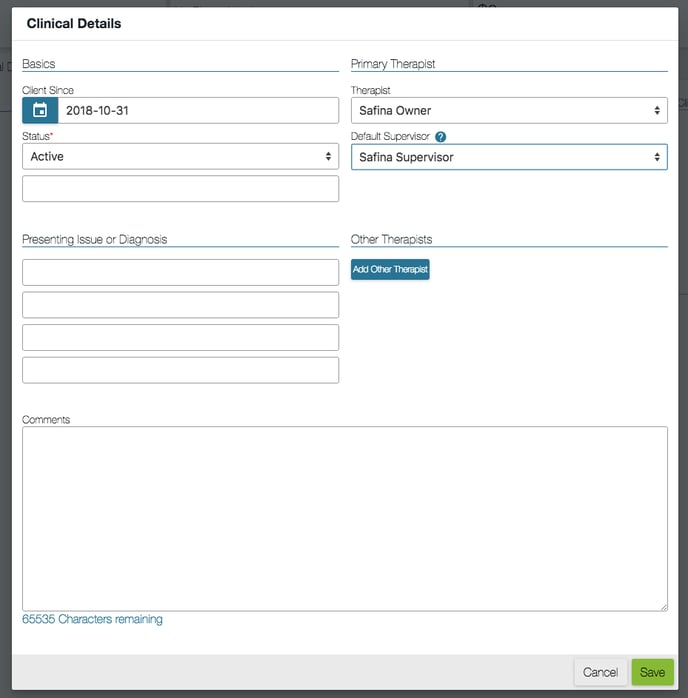
Step 4: Assigning Supervisors to Clients
- To assign a Supervisor to a client profile, go to Clients and open the client profile of your choosing
- Click on Contact & Clinical > Clinical Details
- Click the Edit button
- In the Primary Therapist section, select yourself as the Therapist and assign the Supervisor
- Click the Save button
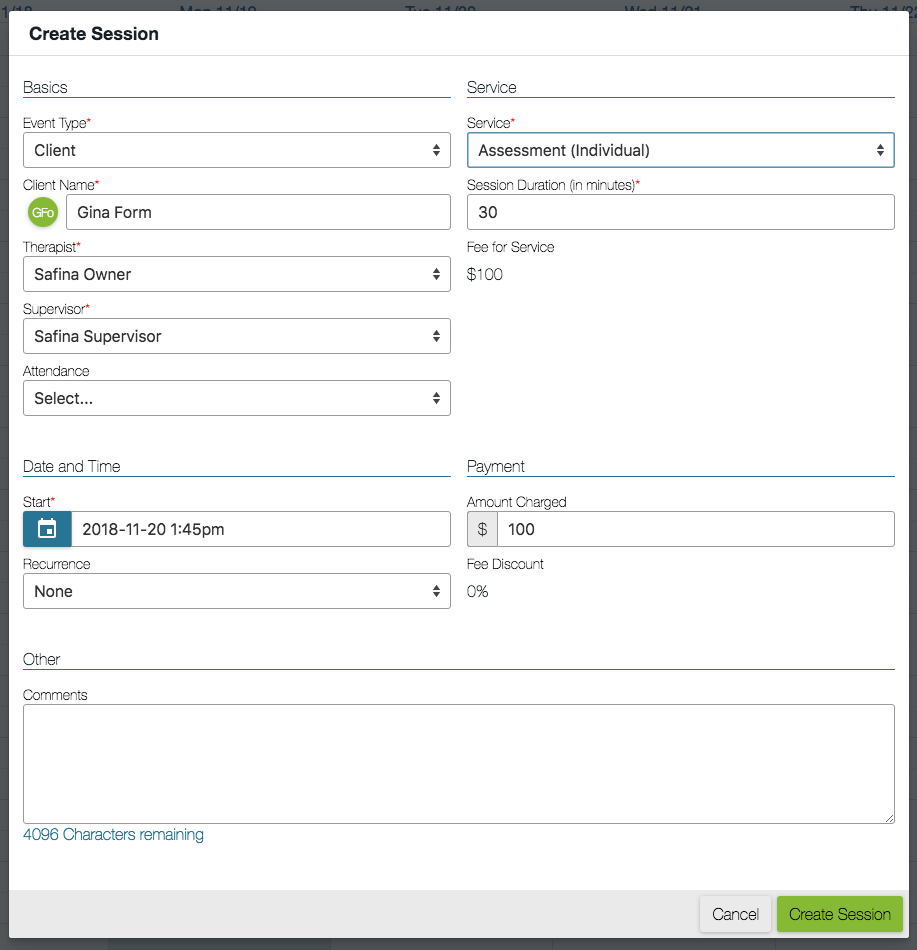
Step 5: Scheduling the Supervisor for Sessions
- Go to the Calendar and click on a slot to schedule a session
- Type the client’s name into the field provided and if a Supervisor has been assigned, you’ll see their name pre-populated in the Supervisor field
- Select the Service from the drop down menu provided and edit any other details of the session as needed
- Click the Create Session button to schedule the session
For information on how to remove a supervisor from a session, client profile and therapist profile, please click here.