
This guide will cover
Joining Video Sessions
To start a scheduled video session, simply click on a session with the Video icon in the Calendar. The Session Overview window will have a Join Video Call button that you can click to begin hosting the session: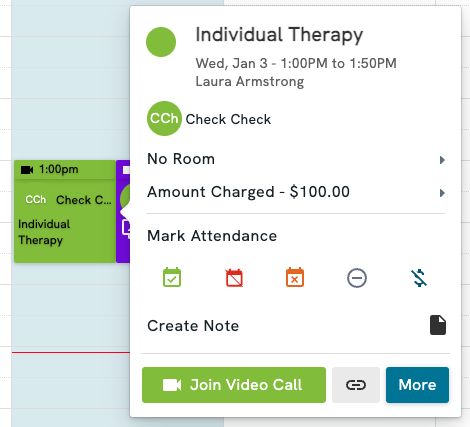
It is important to know that there is a 8 hour + / - window for joining a video session. Clients will be able to enter the waiting room for the session up to 8 hours before it starts, and the join button will remain active for them up to 8 hours after the session end time as well, in case they are running late or if there is a time difference between the client and the clinic.
Owl Video currently supports individual, couple, and family sessions. To learn more about collaborative video sessions, visit this page.
Clicking the Join Video Call button will open the secure video session in a new browser tab on your computer. Before you can enter the session, you’ll also be prompted to confirm your display name and audio/ video preferences. The name displayed here is defaulted to show the first and last name, as well as the title from your therapist profile. You can then click the Begin to enter the session: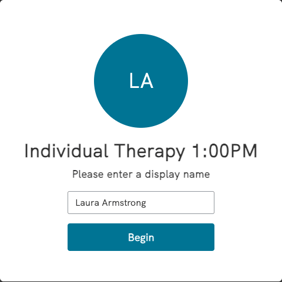
If this is your first time using the Video Therapy tool, your browser will most likely prompt you to grant access to your camera and microphone. You can allow access, and then these devices will be connected to the session for your call. If you’ve used the video feature previously on the same device, your camera and microphone should connect automatically for every session going forward based on the access you’ve previously granted.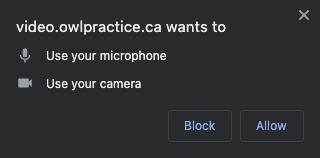
If your browser does not prompt you, or you have already blocked access, you should see an icon in the top-right of your screen with a red "x". Click this icon to manage your permissions: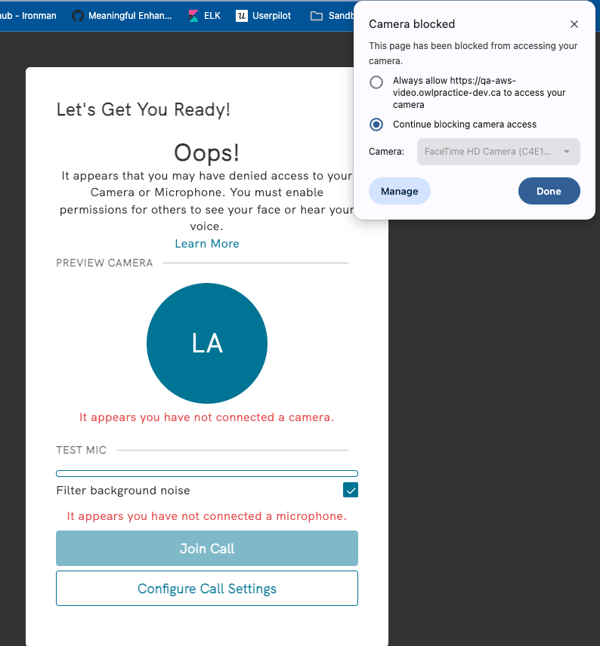
Make sure that you select the option to allow access to the webcam, then click the Done button. You can then refresh your browser and the session will reload with access having been granted to the camera and microphone.
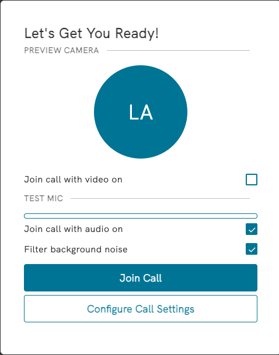
You can start the session by clicking the Join Call button.
Video Session Interface
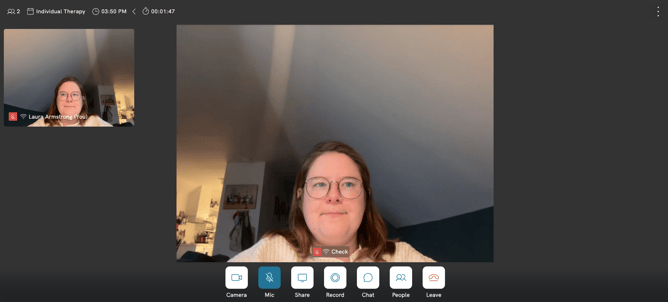
You will see your mirror or initials in the top left corner of the screen. You can drag and drop it as needed to place it anywhere on the screen. The indicator for your connection strength is visible directly beside your name from within the mirror. Your client(s) will appear in the centre of the screen.
You will see the client’s name at the bottom of their display, as well as a connection indicator to the right of their name. This indicator lets both of you know how good their connection is based on their internet. The same connection indicator appears to the right of the name displayed below your webcam display. If there are any issues with connectivity during the session, both of you can clearly identify which party has a weak internet connection.
If either you or the client have your microphone muted, you’ll see a red mute indicator to the left of your display name.
Using the Toolbar
The toolbar is located at the top your screen so you can easily keep track of the time, what type of service you are providing, and the number of participants invited to the session.
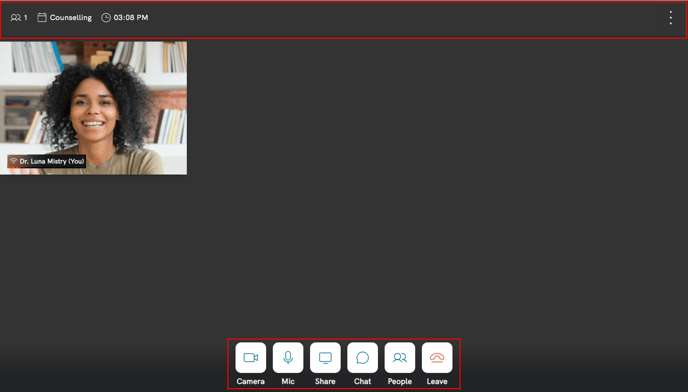
On the far right of the toolbar, you’ll see a clickable menu indicated by three vertical dots. When selected, this menu will expand to show you several different options.

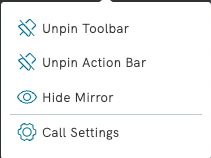
At any time during the session, you will have the option to hide the toolbar from view if you don’t want to have it locked to the top of the video call. Simply click on the three dots and select Unpin Toolbar. Doing so will unpin the toolbar from the top of your screen. It can still be easily viewed and reopened when you hover your cursor up at the top of the screen.
Similarly, you now have the option of hiding the Action Bar at any time during the session by selecting the Unpin Action Bar. This will unpin the Action Bar from the bottom of your screen. It can still be easily viewed when you hover your cursor near the bottom of your screen.
If at any time you do not want to see your own image onscreen during the session, you can use the Hide Mirror option to remove it from your view.
Lastly, you can manage your mic and camera configuration at any time by selecting the Call Settings option.
Selecting this option will open a pop-up window with video and audio options that you can change as needed to ensure you have the correct setup for the call. For therapists who have multiple audio or video devices (for example, you may use wireless earbuds, a USB microphone, or an external webcam), you can now save your device selection preferences as well.
Users (Therapist or Client) can now also enable background noise filtering. This will help improve the audio quality when participants have a lot of background noise like kids or typing. This feature will be enabled by default for best-quality audio but can be disabled from the settings menu.
The Video Effects feature will allow the Therapist or Client(s) to add a blurred background effect, or select from our stock background images.

Using the Action Bar
The actions in the panel at the bottom of the screen will allow you or the client to:
- Turn off/on your webcam
- Mute/unmute your microphone
- Turn on/off screen sharing
- Start/ Stop Session Recording *
- Open/ Close the Chat
- Open People menu
- Leave the Session
*if subscribed to recording add-on

People Menu
The "People" menu in the action bar allows you to see who has joined the session, and gives the clinician hosting the session the ability to admit clients to the session. When clients join a video session, they are automatically placed into a virtual waiting room until you are ready to admit them to the session and begin. You have complete control over who can join your session and when they’ll be admitted, which ensures the session is secure and private.
The Admit option appears to the far right of a client’s name when they have successfully arrived in the waiting room. If a session has multiple participants, you can admit each attendee into the call one by one by clicking the Admit button next to their name. Alternatively, you can click the Start Session button to admit everyone to the session at the same time. Once you have clicked the start session button and all clients have been admitted to the session, this button will now appear as the End Session button.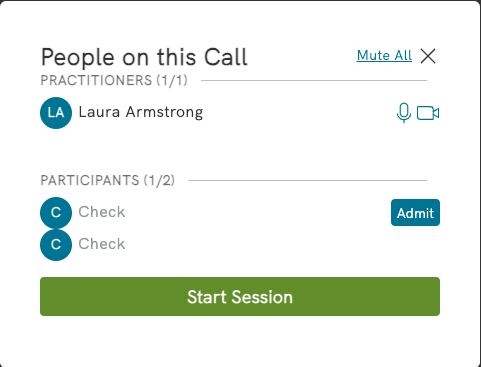
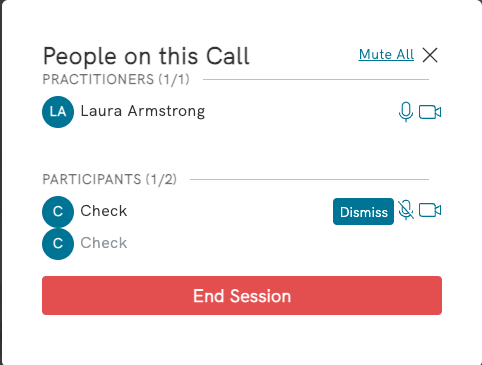
You also have the option to Mute All participants from this window. If you have selected the Mute All button, you will need to click back in to the People icon and select Unmute All to allow participants control of their microphones once again.
Once clients have entered the session, you will have the option to dismiss any attendees as needed at your discretion. For any clients that have been admitted to the session, you’ll see the Dismiss from Session option when you open the menu next to their name:
Recording
If your clinic has applied the video recording add-on to their subscription, and has enabled the feature for your Therapist profile, you will see a Record option in the Action Bar when you are on a Video Call.
To Start recording part or all of the call, click the Record button. When you start a recording on a session, an alert window will be shown to remind you of the requirement to obtain consent from the client, as well as some helpful information about where to find your files after the session. 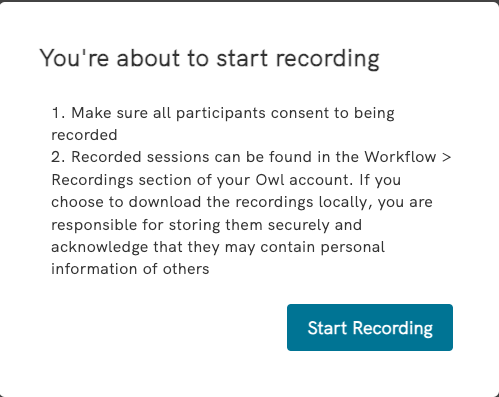
Once started, both you and the client will see a Recording icon in the Toolbar.

When recording is in progress, the Record button changes to "Stop Recording".
You can start and stop recording as many times as you need during a video session. All the segments will be compiled into a single file after your session.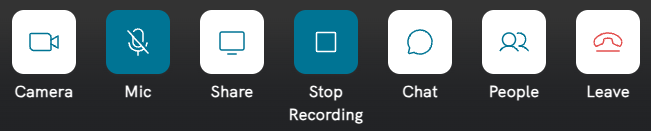
IMPORTANT: In order to initiate the transcoding process and access your recording file, you must use the Leave button in the Action Bar, or the End Session button from the People menu. Closing the browser tab or window will not complete the recording.
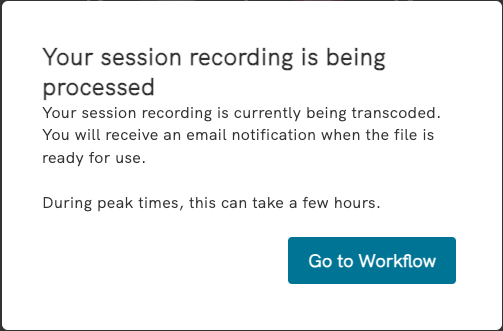
Once the session has ended, you will see a pop-up notifying you that your recording is being transcoded, with a link to the Workflow where you will find the file once it's complete!
Ending Video Sessions
To end a video session, simply click the End Session option in the People panel. A prompt will appear asking you to confirm if you would like to permanently end the session for all parties: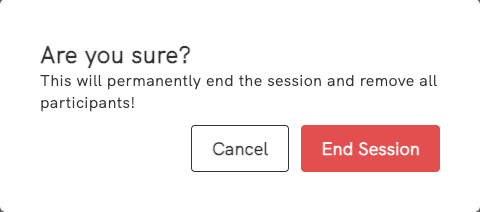
Yourself and all of the clients who were participating in the session will be dismissed. You will see a confirmation that the session has ended:
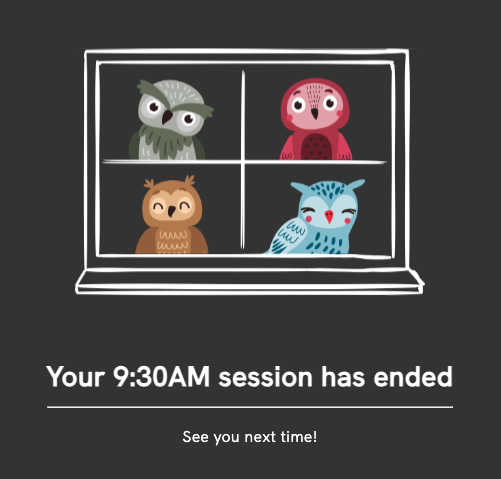
If anyone tries to rejoin a session that has been ended, they will see this same screen confirming that the session has already ended.
You also have the option to simply leave the call by clicking the red button with the telephone icon in the actions panel at the bottom of your screen. When you do so, the client will see a message on their end that tells them you’ve left the session: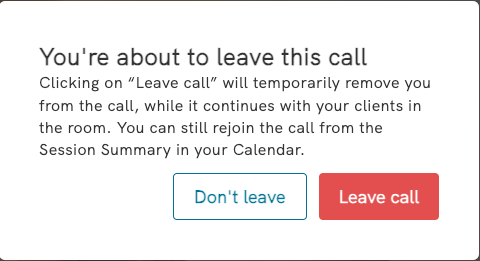
Clients also have the option to leave the session any time they’d like by clicking this button in their action panel.