
Owl’s Handwritten Notes feature allows you to attach notes written with a stylus to any Session or Non-Session Note in your practice! Handwritten Notes are a great option for practitioners who prefer to write their session notes by hand, or supplement their Session Notes with additional images or diagrams. Read on to learn all about creating and managing handwritten notes in Owl!
Opening a Handwritten Note
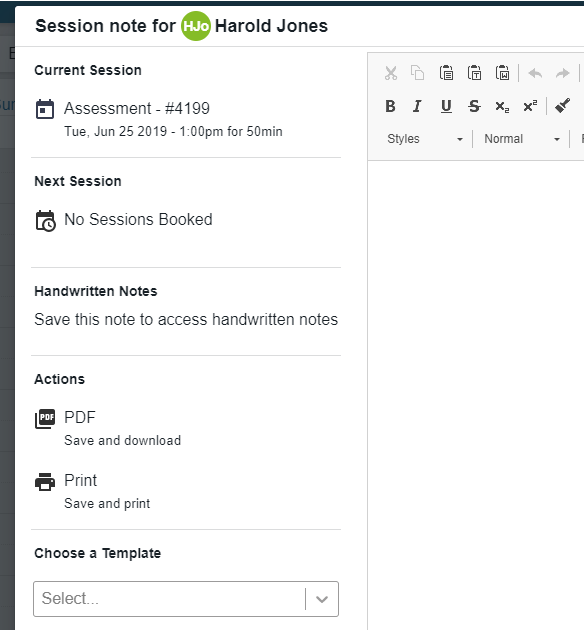
To start a Handwritten Note, first you’ll need to open any Session or Non-Session Note in Owl. Handwritten Notes are added in addition to any Session or Non-Session Notes, so you’ll need to open or create one of those notes first to then add a Handwritten Note that coincides with it. Once you have opened a note, you can access Handwritten Notes by clicking the left-hand sidebar.If the Note you’ve created is brand new, you will see a message that says “Save this note to access handwritten notes”:
If you see this message, it just means you need to add something to the primary note and save before you’re able to start writing your Handwritten Note. If you don’t have any information that you want/need to put in the main body of the Session or Non-Session Note, you could simply write something like “See Handwritten Note” and then click Save.
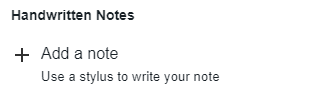
Once content exists and has been saved in the main body of your note, you can create a Handwritten Note! Just click the Add a Note button in the left-hand sidebar to get started.
Writing a Handwritten Note
You can write Handwritten Notes for Session and Non-Session Notes. Once you’ve opened up the Handwritten Notes Editor, you will see a screen that looks like this: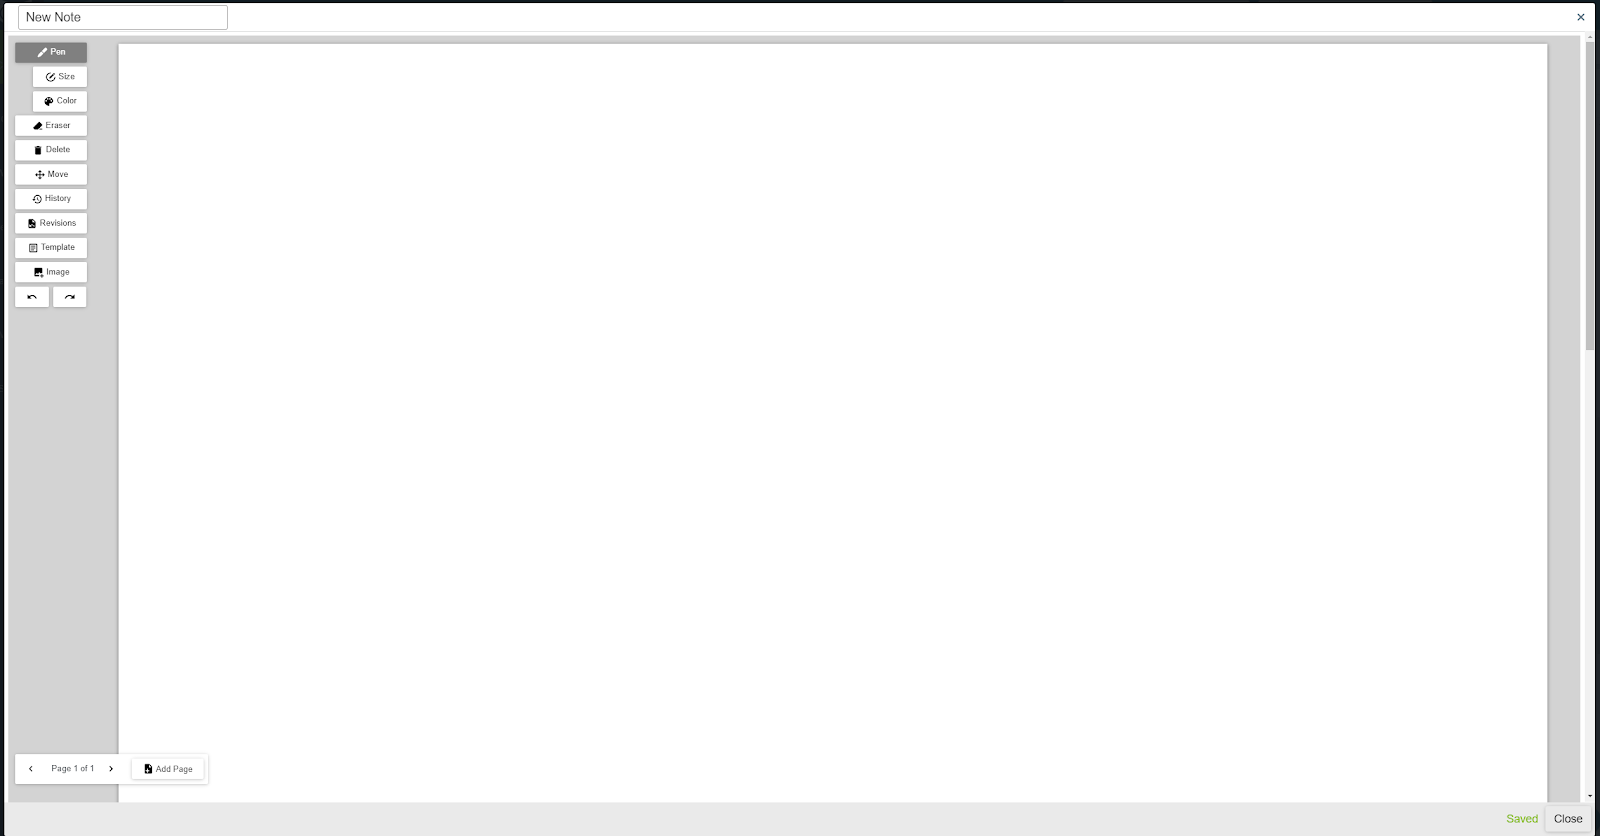
On the left hand side of the page, you’ll see a range of options available to you. In the top left, you can title the note and access a full suite of editing tools. In the bottom left, you’ll find the option to add multiple pages to the handwritten note, as well as arrows that can be used to navigate from page to page within the note.
We strongly recommend using a device with a stylus when creating Handwritten Notes (for example, an iPad with Apple Pencil, or a Microsoft Surface), for the smoothest and easiest experience possible. The Handwritten Notes editor does support mouse cursor input as well, which can be helpful for those with limited options or who just want to make minor edits to an existing note. However, the experience with an Apple Pencil or Stylus will be better.
You can give the note a title of your choosing by entering it into the title field at the top left corner of the screen. If you save a handwritten note without giving it a title, it will simply be called “New Note”.
As you write a Handwritten Note, you can click the Save button to minimize the risk of you losing progress on your note. You can use the History and Revisions options from the panel in the sidebar to view previous versions of your handwritten note if needed.

The options included in the tools menu are as follows:
- Pen: This is your writing tool for the note. You can adjust the size and color of the pen.
- Eraser: The eraser allows you to erase areas of the note you’ve written. Please note, clicking on it does not delete elements from the page, it simply allows you to erase areas of the note as needed.
- Delete: Using this tool you can click elements on the page to delete them. You can use this function on images and elements as well as on any pen marks you’ve made. Use this instead of the eraser tool when you want to fully remove content from the page.
- Move: If you click on a page element with this option selected, you can move, resize and rotate it.
- History: This function allows you to see the Note History; a list of all actions taken in the note since opening it. You can click on an action in the list to go back to that time in the note. It’s an easy option you can use to undo multiple steps at once. Please note that this history is only kept for the duration of your current editing session - if you close the note, then reopen it at a later time, the session history will start fresh for that writing session.
- Revisions: While Session History is maintained only for that session, Revisions are permanently stored previous versions of your handwritten note. It’s the same option you have with your Session and Non-Session Notes. You can select a previous version of the Handwritten Note and open it. Anytime you save a Handwritten Note or it is autosaved, a revision will be stored.
- Notepad: This option will turn the note writing area into a lined paper background to help you write handwritten notes as if being written on paper. You can show or hide the notepad background at any time by clicking this button.
- Image: This tool gives you two options: Upload an Image or Import a Saved Template. Read the next section of this FAQ to learn how to use both of these options!
- Undo/Redo: Select these two arrow buttons to go backwards and forwards through your Session History.
Using Templates and Images in Handwritten Notes
As with Session and Non-Session Notes, you can create templates to be inserted into your handwritten notes! Templates allow you to easily use and reuse the same elements for all of your Handwritten Notes. For instance, if you have a standard chart or diagram you use to support specific session types, a template is very helpful because you don’t have to recreate it with each new note.Creating Templates
To create a Handwritten Note template, go to Manage > Handwritten Notes. In this area you can upload images to be used as templates, or create templates using the Handwritten Notes editor itself. To do so, click the plus (+) button in the top right corner of the screen. You will see two options: Upload an Image or Import a Saved Template.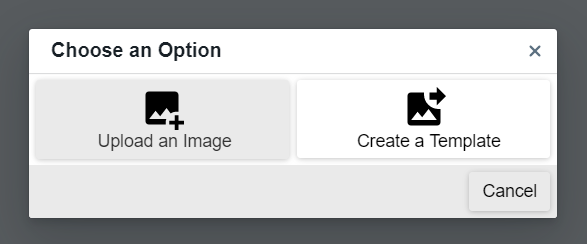
If you select Upload an Image, you’ll be prompted to upload an image file from your device into Owl. After selecting an image, a preview of the image will be opened and you will be prompted to name your template. Name the template, click Save, and you will now have a version of that image stored in Owl that you can insert into your Handwritten Notes at any time by using the Image > Import a Saved Template options when editing a note.
Please note that you can only upload image files (PNG, JPG) here, not file formats like PDF. The difference in uploading an image as a template instead of using the Image > Upload an Image option when writing a Handwritten Note is that by uploading an image as a template, you now have a stored version of that image inside of Owl. This means that you don’t need the image on your device to insert it into a Note, therefore making it faster for Owl to add the image each time as a result. This is why we recommend uploading images that you frequently use for your Handwritten Notes as templates.
Alternatively, if you select Create a Template, the Handwritten Notes editor screen will open, and you will be prompted to craft a template anew. You are given the same Handwritten Notes tools for creating your own templates. The template editor functions exactly the same as the regular Handwritten Notes editor, so to learn about the editing options available to you here, check out the Writing a Handwritten Note portion of this FAQ. All you need to do is give your template a title and click Save to create it.
Using Templates
To use a template, click the Image option when editing a Handwritten Note (not to be confused with the Template button, which is for adding a lined paper background to your note). When you click the Image button, you will be presented with two options: Upload an Image or Import a Saved Template.If you select Upload an Image, you will be prompted to upload an image file from your device into Owl. This will then place the image into your Handwritten Note. You can then use the Move tool to move, resize and rotate the image however you’d like. You can then annotate your images afterwards if you wish by using the Pen tool.
Alternatively, if you select the Import a Saved Template option, you will be presented with a window asking you to select a Template from the ones you have previously created (see the section Creating Templates for more on that). When you select the template you wish to use from the menu it will be added to your note on the page you’re currently writing. This means that if you had a Template you wanted to insert onto page 3 of your Handwritten Note, you would select Import a Saved Template while viewing page 3.
NOTE: Unlike images, adding in a Saved Template will replace any content you have already added onto that page. Therefore, if you use templates when writing Handwritten Notes, be sure to use them before adding any other information to the page. If you accidentally add in a template after starting another part of your note, you can always use the Undo button to revert the change.
Managing Handwritten Notes
After you’ve written and saved a Handwritten Note, you can access it again at any time by opening the Session Note of its origin. Open the client’s profile and select the note from the client’s Sessions & Notes. You will see any Handwritten Notes in the sidebar of that Session Note. Clicking on the dotted icon next to the name of the Handwritten Note in this sidebar gives you the option to View, Edit, Remove and Rename the Handwritten Note. Clicking View will allow you to view the Handwritten Note without any editing tools.

If you wish to print or export to PDF a Session Note that has a Handwritten Note associated to it, a new confirmation window will appear asking if you would like to include the Handwritten Note in the export or print out as well. Simply click Yes, Include Handwritten Notes to include them if needed.
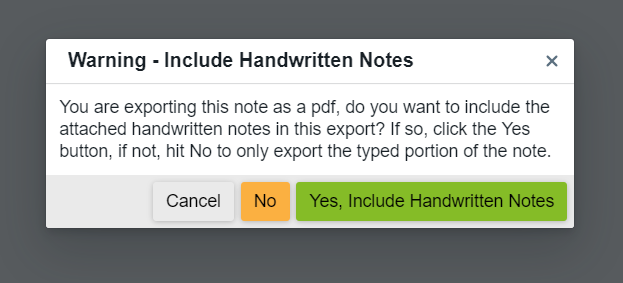
If you click No, you will get an export or print view without the Handwritten Note. If you click the Yes, Include Handwritten Notes option, the Handwritten Notes will be added onto the export as pages that follow the Session Note.
When you initiate a Notes Export from the Actions sidebar in the client Profile, you will also have the option to include any Handwritten Notes in the export.
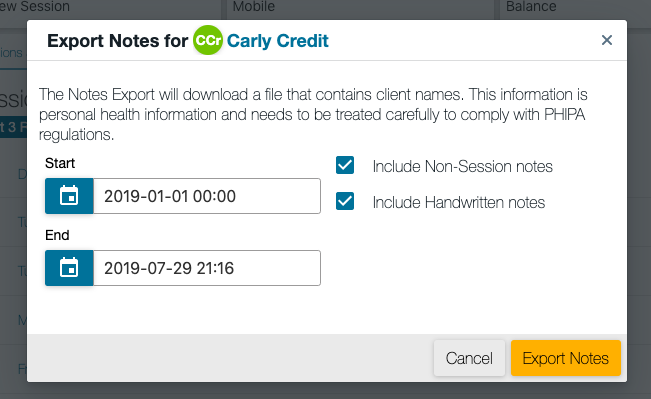
This option appears as a checkbox that can be selected similar to the checkbox you use when you wish to include Non-Session Notes in your client notes export.