
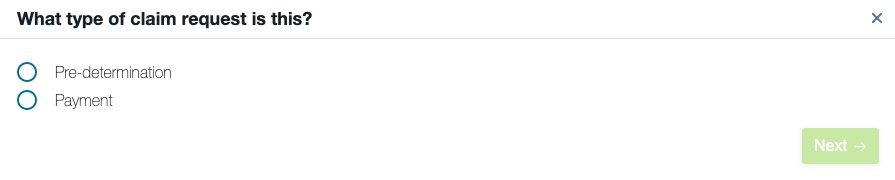
You can create two types of claim requests: a Pre-determination, to see how much coverage the client is eligible for; and a Payment, which will submit the client’s claim to apply available coverage from their insurer. You must select one of these options to start a claim request.
Pre-determination
You can go to Client Profile > eClaims > Claims or Manage > eClaims > Claims, and click the “+” icon at the bottom right corner of the page to start a claim request. Doing so will open a new window with 5 phases to complete:
- You will be prompted to select the type of claim request - choose “Pre-determination”.
- Enter the client’s name, date of birth, and sex (optional) in the fields provided. If the client has more than one coverage available, you will need to select one of them to continue.
- Select the service location and provider.
- All eligible services on file for the client will appear here. You can choose up to 31 services to be processed in one request. Select the appropriate service code for each and continue.
- You can indicate if the service was provided for an injury caused by an accident, and if it was prescribed or a referral.
Once you have completed the 5 phases of a claim request, all of the details you’ve input will be displayed for you to review. Confirm that these details are correct (or use the Back button to make any changes needed), then flag the checkbox to confirm that you accept the terms and conditions. Click the “Submit Claim” button. All requests will receive a response in real-time, but it may take a few moments to process.
Payment
You can go to Client Profile > eClaims > Claims or Manage > eClaims > Claims, and click the “+” sign icon at the bottom right corner of the page to start a claim request. Doing so will open a new window with 5 phases to complete. Please note that any session that already has payments recorded against it in Owl will not be eligible for a Payment claim.
- You will be prompted to select the type of claim request - choose “Payment”.
- Enter the client’s name, date of birth, and sex (optional) in the fields provided. If the client has more than one coverage available, you will need to select one of them to continue.
- Select the service location and provider.
- All eligible services on file for the client will appear here. You can choose up to 31 services to be processed in one request. Select the appropriate service code for each and continue.
- You can indicate if the service was provided for an injury caused by an accident, and if it was prescribed or a referral.
Once you have completed the 5 phases of a claim request, all of the details you’ve input will be displayed for you to review. Confirm that these details are correct (or use the Back button to make any changes needed), then flag the checkbox to confirm that you accept the terms and conditions. Click the “Submit Claim” button. All requests will receive a response in real-time, but it may take a few moments to process.
After Claim Submission
If the claim request was successful, you will see a confirmation screen with the option to view the Explanation of Benefits (EOB) or close the window. You can also view the details of any claim request on file any time by going to Client Profile > eClaims > Claims or Manage > eClaims > Claims. When a claim has been approved for payment, the client’s outstanding balance will be updated accordingly and a receipt will be generated automatically (Client Profile > Finances > Receipts). You will not be able to delete a receipt that is associated with a claimed amount.
If there is an issue with the request, please follow the details that appear onscreen immediately after submission, or read through our Troubleshooting guide for more information.
If you need to nullify a successful claim, you can click the “x” icon next to it. The option to nullify or void is only available on the same calendar day as the initial claim submission. You will need to indicate whether the claim was made in error or if you have changed your mind, then you can review the claim details and click the “Confirm Void” button to complete this action. If the timeframe to void the claim has passed, you will need to connect with the insurance company directly to make corrections.